
How to Prepare Your Locked Picture for Color Grading
(Premiere Pro → DaVinci Resolve workflow)
When your edit is locked, the next step is to hand off your project for color grading. A clean, consistent preparation ensures a smooth conform in Resolve and avoids costly back-and-forth. Below are the exact steps showing one way (others may prefer XML or EDL, but I prefer AAF) of preparing a timeline, exporting an AAF, and creating a Preview File with metadata burn-ins.
Goal
- Deliver an AAF from Premiere Pro containing the full timeline structure and cuts.
- Export a Preview File (H.264, ProRes Proxy, or H.265) with metadata overlays showing:
- Source Timecode (SRC TC)
- Source filename
- Project name and date (date when handing off the picture for color)
Preparation Steps in Premiere Pro
1. Confirm Locked Picture
- All picture edits approved.
- No missing media or offline clips.
- Audio mix or temp mix already synced and final for reference.
2. Prepare Reference File (Preview for Grade)
(This file will be irreplaceable during conforming)
- Open the final approved edit timeline/sequence.
- Apply Timecode & Metadata Burn-in with the following layout:
- Top Left:
SRC TC: <source clip timecode> - Top Right:
SRC File Name: <source filename> - Bottom Center:
<project code>_<project name>_<date>
- Top Left:
- Export settings:
- Format: H.264, ProRes Proxy, or H.265
- Resolution: Match project
- Frame Rate: Must match the timeline prepared for color and picture finishing (e.g., 25fps)
- Codec: Medium bitrate (~10 Mbps for H.264)
- Audio: Stereo mix
Organize and Clean Timeline
- Duplicate the sequence and add _ONLINE at the end of the timeline name.
- Make sure all clips are relinked to OCF (Original Camera Files). If you edited using dailies or proxies, reconnect to full-resolution media.
- If OCF are UHD, set the sequence resolution to UHD (3840×2160).
- Remove nests.
- Collapse multicam sequences to a single video track.
- Ensure all video clips are on a single video track except where multiple tracks are necessary (e.g., fades, transitions).
- Remove unused clips from the sequence.
- Confirm correct frame rate and resolution. Most common: UHD (3840×2160) 25fps.
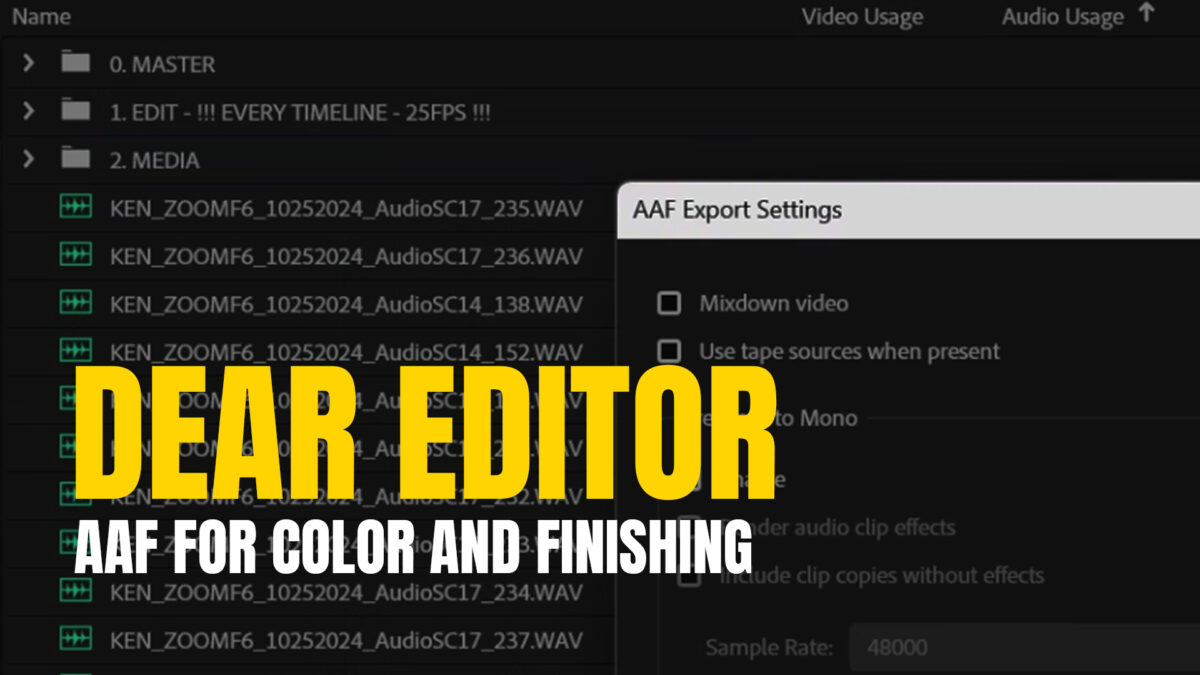
Export AAF from Premiere
- Go to File → Export → AAF.
- Settings:
- DO NOT MARK ANYTHING – LEAVE IT UNTOUCHED
- Save the
.aaffile in the delivery folder.
Final Tip: Always export both the AAF and the reference file from the exact same locked sequence to ensure perfect sync and duration match.